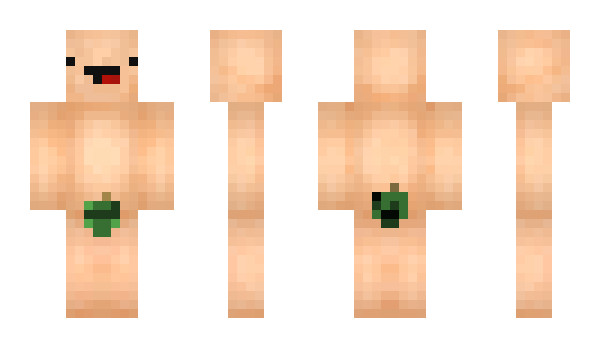
Create Custom Minecraft Skin Template: I Love The Idea Of Custom Skins Template
A Minecraft Skin is a set of textures that are applied to a person or monster model in order to alter its look in the game. Simply stated, Minecraft skins enable you to change the appearance of your Minecraft player image.
Yes! Anyone with enough time and skill can make their own unique Minecraft skin.
Players may download and follow a template for appropriate measurements and size, much like they do for custom Roblox shirts and t-shirts. The 6464 Standard Minecraft Skin templateis compatible with all Minecraft versions.
The face (or front of the head region), the left arm area, the left leg area, the torso, and so on are all split into sections that serve as the surface area of the Minecraft player avatar.
It also contains a total of 3,264 pixels that may be customized. The Slim Minecraft Skin template is quite similar to the normal Minecraft skin, with the exception that the arms are thinner. It's the default skin for the updated "Alex" skin.
Versions 1.8 and above are also the only ones that fully support it. In earlier versions of Minecraft, player avatars that wear the thin Minecraft skin or the slim-armed skin may show black pixels in place of arms.
Standard Minecraft Skin templates and Slim Minecraft Skin templates in Minecraft Bedrock Edition may have a resolution of up to 128 128 pixels. This provides players with at least four times the number of pixels to work with.
How To Install Minecraft Mods
Minecraft is a fantastic sandbox game that has remained popular to this day. Its open-world environment and simplistic architecture may be credited with its durability and replay potential.
While those two reasons are undoubtedly important, it must be said that the availability of Minecraft modifications plays a significant influence on the game's long-term success.
Minecraft mods are pieces of community-created content that bring new objects, improvements, variants, expansions, and other changes to the game. They can be a lot of fun to play around with, and they may give long-time gamers a fresh lease of life in what might otherwise be a monotonous game.
Don't worry if you've always wanted to try out Minecraft modifications but weren't sure where to start. Our comprehensive guide to installing Minecraft modifications will make the procedure simple to comprehend and follow.
Install Minecraft Mods: A Pre-installation Checklist
We suggest reading through this checklist before you start searching for modifications to download and install. This will ensure that you are in the best possible position to install and experiment with modifications.
How To Install Minecraft Mods (2022)
Assess Your Control Over Your Pc
Mods will require a fair bit of digital grunt work, such as transferring files, altering file names (and occasionally extensions), and downloading additional applications. It's possible that you'll need to upgrade your Minecraft version or buy an update (we'll explain why in the following section).
Make sure you're comfortable doing all of these tasks on your computer. If you're sharing a computer with someone else, you should probably get their permission beforehand.
Most Minecraft modifications will be tough to install if you are uncertain or uncomfortable with this. How to install mods in Minecraft 02
What’s Your Minecraft Version
Full modifications aren't compatible with Minecraft Bedrock. You'll need Minecraft: Java Edition installed on your PC to download, install, and play all of the Minecraft modifications you desire. It costs $27 on Mojang, and you'll need a Mojang account to purchase it.
Check Your Storage Space
Mods, like any other download, will take up storage space. They may be anything from a few hundred to a few thousand megabytes.
Minecraft Java Edition requires at least 4GB of storage, with SSDs preferred over traditional HDDs.
If you don't have more than 4GB of free space on your computer, you may need to perform some spring cleaning (or else get a full-on storage upgrade).
Can Your Computer Handle It
A simple Google search should reveal all of the required Minecraft device specifications, but here are some of the essentials:
- Any graphics card that supports the OpenGL 1.3 API and VBOs is considered a GPU.
- Operating systems: Windows 7 or above, OS X 10.9 Maverick, or any Linux version released after 2014.
- 4GB of DDR3 1600 MHz RAM is required.
You won't be able to install and use Minecraft modifications if your PC's specifications are lower than the required minimum specs.
Pre-Installation Precautions
When looking for Minecraft modifications to download, use care as you would with anything else on the internet. Viruses and Trojans will be hidden in a slew of apparently harmless download links and web pages.
Typically, search engines will provide the most secure results possible (especially if you have certain filters and parameters in place to protect you). It's not impossible, though, for unscrupulous websites to get past your firewall.
When doing searches, always be cautious. Stay on well-known, high-traffic websites that are widely regarded by the Minecraft or gaming communities as safe, reliable mod providers.
Keep in mind that many mods will use AdFly to commercialize their work, so keep that in mind. Despite the fact that AdFly is a relatively secure third-party URL shrinker,
Always use caution. Viruses can still enter between the 5-to-10-second interval between AdFly displaying its advertisements and AdFly eventually directing you to the download page.
When clicking AdFly links, keep the following guidelines in mind:
- Never click on anything that seems to be apparent. While you're still on the ad page, click the download buttons.
- When a dialog box appears while you're on the Ad page, never click "Allow." Always choose "Block."
- Whenever it is possible, click the large yellow "Skip Ad" button; Nothing else should ever be clicked.
- Even if you really want to see what they're providing or go where they claim they'll take you, never click on any links on the Ad page.
When downloading, always exercise your best judgment. When in doubt, contact an adult or look up verifiable reviews online.
Install Minecraft Forge
You'll need Minecraft Forge installed before you can start downloading modifications. Minecraft Forge is a free, open-source server for installing and running Minecraft modifications.
It was created with the goal of maximizing simplicity and usability. It's also made to ensure that community-created content and the game itself are as compatible as possible. You may fully modify your Minecraft experience using Forge.
How To Download & Install Forge for Minecraft 1.16.5
Step 1: Download Forge
It is recommended that you download the latest version. Because Forge has been around nearly as long as Minecraft (it debuted in Minecraft 1.13.2), there will be a lot of different versions to select from.
You'll have better results downloading the newest version unless you're interested in playing with earlier modifications that are no longer supported or have been discontinued.
Remember to select the button that corresponds to your operating system; for Windows users, choose "Windows Installer." For Mac and Linux users, click "Installer."
Step 2: Run The Forge Program
You'll need to launch the Forge Program after it's securely ensconced in your Downloads folder. Simply execute the.jar file by double-clicking it (or right-clicking it and selecting "Run as Administrator" if that option appears for you).
What if my antivirus software tells me that Forge is present? Antivirus systems such as Windows Defender often label Forge as "malicious" software.
This isn't correct (as long as you downloaded it from the recommended link). Forge has been downloaded by millions of people all around the globe, and it continues to be downloaded.
Simply dismiss the warning, add the.jar file to your exceptions list, or do whatever else is necessary to ensure that your system does not react negatively to Forge. It's very safe, believe us.
Step 3: Install Forge Into Minecraft
In only two clicks, you may install Forge into Minecraft after selecting and opening the.jar file. You'll notice three choices (next to radio buttons) at the top of the Forge window: Install Client, Install Server, and Extract.
Make certain that the Install Client option is selected. Scroll to the bottom of the page and press the OK button. Keep in mind that your Forge and Minecraft versions must be compatible.
If you're using the vanilla 1.13 version of Minecraft, you'll need to download and install the 1.13 version. If you regularly update Minecraft, your Minecraft version will very certainly match the current Forge version.
Step 4: Verify Successful Installation
Open your Minecraft Launcher after you've received confirmation that Forge has been installed. To expand the menu, hover over the arrow next to the large green Play button and click.
On the list of installed applications and updates, you should see "Forge." Choose it and press the Play button. This will start Minecraft with Forge installed and ready to play with modified stuff.
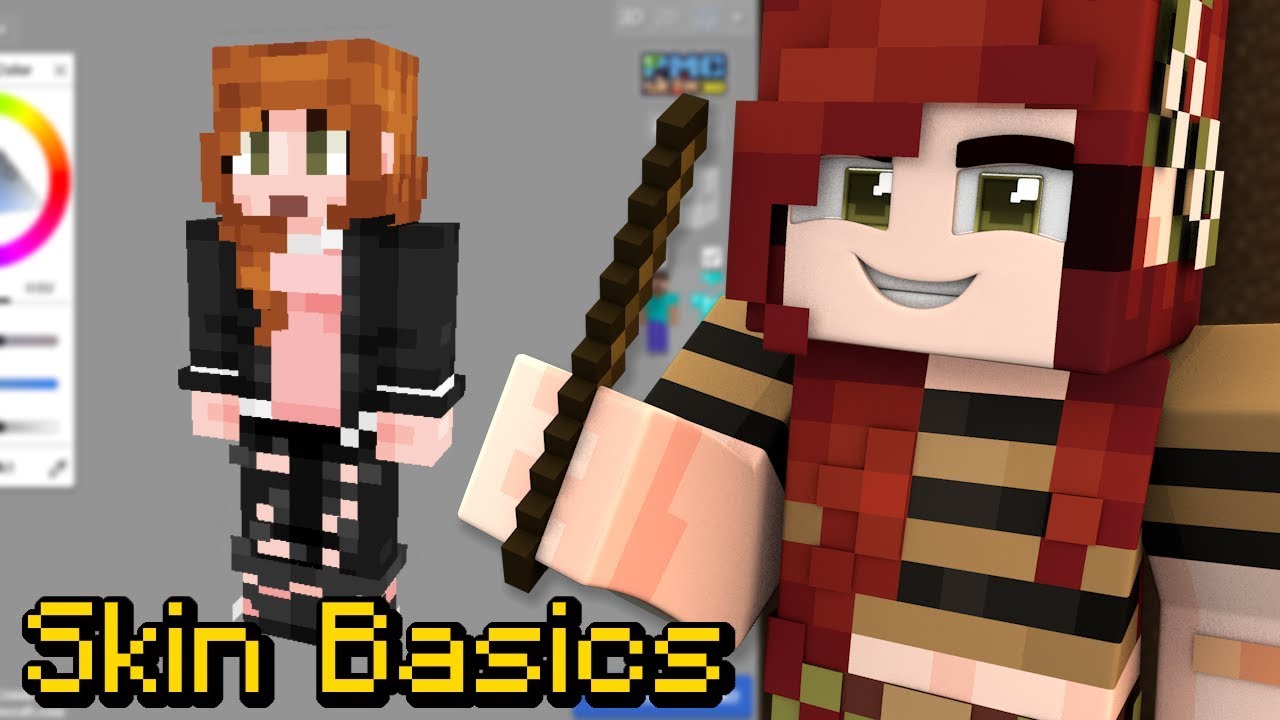
Best Minecraft Skin Editors
A player skin in Minecraft is just an image file (particularly a.png) that is applied to the player's 3D model such that the arm parts are on the arms, the leg parts are on the legs, and so on.
Although you could make your own character skin using a basic image editor, you'd need to know which parts of the picture correspond to which parts of the model. As an example, a flat picture of the basic Steve skin looks like this.
The finest Minecraft skin editors utilize a Minecraft player model as the canvas to make creating your own skin easier. This allows you to previewhow your skin will appear after it's applied on the model.
Top 3 Minecraft Skin Editors
Explore Fun Minecraft Skin Makers
In this article, we'll look at four different free web-based Minecraft skin editors and compare their features to see what makes them unique, as well as attempt to figure out which one is the best.
The Basics of Skin Making - Zombeanie
The Skindex
The Most Effective Minecraft Skin Editors. This skin editor seems to be of a more intermediate level. For precise color selection, the color palette includes hex codes, and the mirror tool may duplicate designs for symmetric editing.
There's also an automatic tone feature. The second layer of the Minecraft player model is also easily distinguishable since it looks exactly as it would in the game, with a little gap between the first and second layers. The only gripes I have with this editor are minor niggles.
Pixel grid, zoom in/out, import/export, mirror tool, hex color support, simple switching between slim and classic versions, darkening/lightening color tool, auto-tone tool, and hex color support are all advantages.
Cons: Can't see the grid after painting on it, saves.png files with arbitrary names, banner advertising
Minecraft Skins
Thanks to hex color selection, zoom controls, color modification controls, the ability to import/export skins, choosing between slim/classic models, and the obvious separation of the model's second layer with a clean design, this editor seems like a simplified version of The Skindex.
The option to pan and choose various positions for the model is helpful for previewing what your skin will look like outside of the default pose, even if it lacks features like The Skindex's mirror and auto-tone.
When applying colors, the grid toggle is also quite helpful for exercising precise control. Grid toggling, pan control, hex color support, stance menu, and simple design are all advantages.
Cons: There is no mirror tool, no auto-tone/texture brush tool, and there are banner advertisements.
Nova Skin
Nova Skin offers more features than other editors, giving it a more sophisticated appearance. If the other editors are similar to MS Paint, Nova Skin is similar to Photoshop, thus the learning curve is a little higher.
There's a mirror tool, gradient shape tools, 2D picture viewing and editing, scroll-wheel UI controls, and image layer support, but there's no redo button or hex color selection.
Many filters are available to change the brightness, contrast, saturation, and other elements of your picture. There is a great deal of power to be found here.
Grid toggle, import/export, zoom in/out mirror tool, gradient shapes, image layers, filters, Ctrl+Z support, 2D image, animation Grid toggle, import/export, zoom in/out, mirror tool, gradient shapes, image layers, filters, Ctrl+Z support, 2D image, animation
Cons: no hex color support, no undo button, popup advertising, and a somewhat more complicated user interface.
Tynker’s Minicraft Skin Editor
This editor features a straightforward user interface and is simple to use. The texture brush, which enables you to apply color with slight variation so that surfaces on the model don't appear flat, is maybe the most useful tool.
This skin editor lacks several essential features due to its simplicity, such as hex color support. To save your work on your computer, you'll also need a Tynker account. The interface is simple to use, there is a texture brush, and there are no advertisements.
Cons: To save files locally, you'll need an account; there's no hex color support, no zoom in/out, and no mirror tool.
About The Authors

Steve MartinsI am a certified graphic designer and I earned my bachelor’s degree in Communication Design. I worked with many brands like Uniqlo and Huawei but also independent smaller Barcelonian brands like Caravelle and Madrid’s Hola Coffee and I have completed over 2000 projects in the last 5 years.