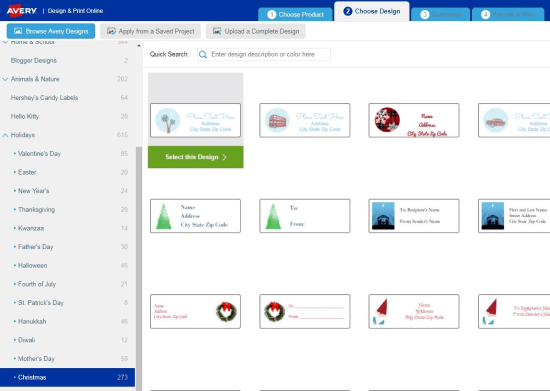
How To Create Labels For Avery 8160 Free Template
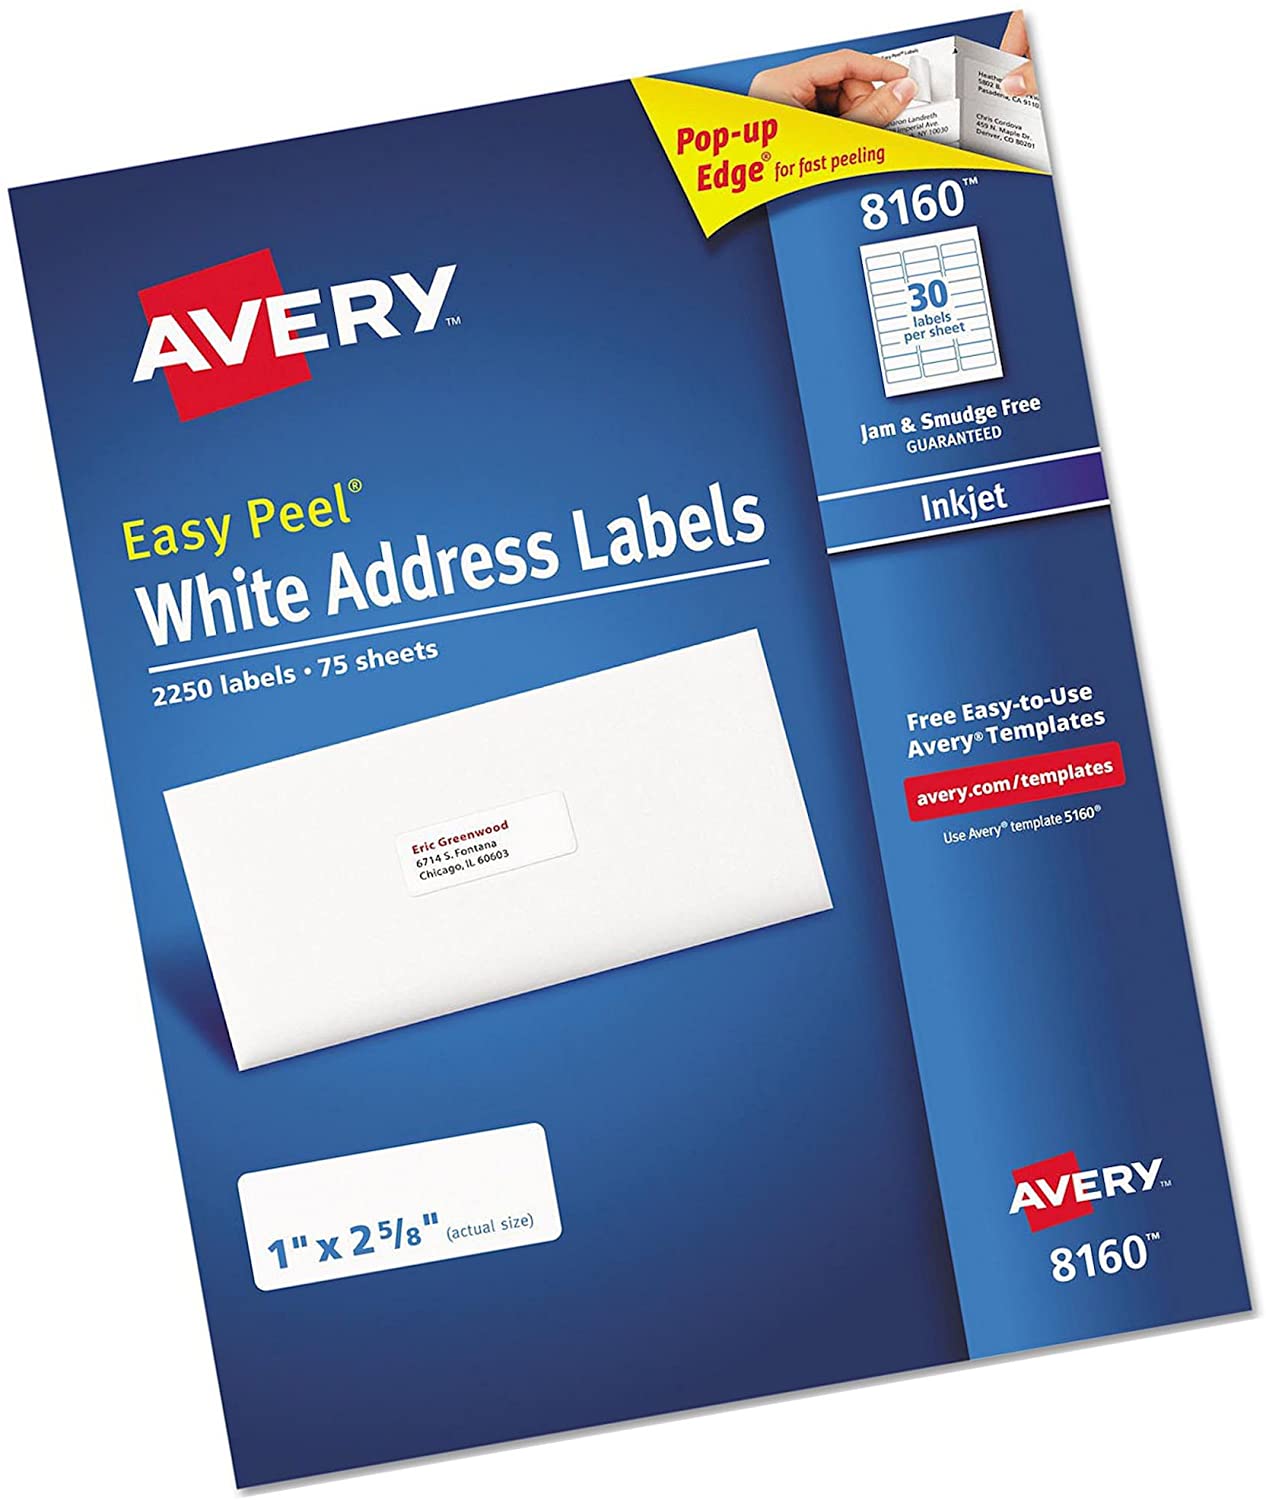
Avery 8160 address labels have improved stickiness due to the use of our Ultrahold permanent adhesive, which adheres to and remains securely on envelopes, cardboard, paper, glass, and metal surfaces. These mailing labels are designed for use with inkjet printers and have Sure Feed technology, which helps to offer a more dependable feed through the printer while also preventing misalignments and jams from occurring.
Our Easy Peel design is also included on the address labels, allowing for a quick and simple installation. Personalized gift tags are perfect for use with wrapping paper, party treat bags, and holiday greetings, and they're also great for bulk mailings, organizing, and schools.
Additionally, these white labels are excellent for shipping, filing, and organizing objects in your workplace as well as in your kitchen, closet, garage, and school. With the 8160 templates, you can add a personal touch to your customized address labels.
Create Labels For Avery 8160
When making labels for a snail mail penpalling pastime or for business contact, the Avery 8160 label has the typical dimensions—1 inch by 2.63 inches—that are found in the majority of print-on-demand applications.
Those measurements result in a sheet of 30 labels (three columns of ten labels each), which may be printed on the adhesive label paper available from numerous businesses. There's no need to spend money on pricey labels when you can create your own Avery 8160 labels on your computer using a multitude of computer tools.
Creating Avery 8160 Free Template In Word
Select "Tools," then "Letters and Mailings," then "Envelopes and Labels" from the drop-down menu. The "Label Options" box appears when you click the label picture in the bottom right-hand corner. Scroll down to Avery 8160, select it, click "OK," then "New Document." On the page, there is a second page with labels.
Use the text toolbar at the top of the page to pick a font, size, and color for your address or other information, then type it into the top left label. (Optional) Then choose "Picture" and "Clip Art" from the "Insert" menu. Enter a term, such as cat, cupcake, or soccer, in the "Search for" box. Double-click a picture after scrolling through the list. Place it on the label by dragging it into position.
With your mouse, block and copy the whole label. Select "Copy" from the context menu, then click on the next label with your mouse. Select "Paste" with a right-click. Rep until all 28 labels on the screen have been pasted in.
Creating Avery 8160 Free Template By Using Paint
Select "Properties" from the drop-down menu while Paint is open by clicking the Paint button in the top-left corner of the screen. Fill in the "Width" and "Height" boxes with the measurements of your choice for the label. To create a normal address label, enter the numbers "2.63" and "1" in the appropriate fields. When you press the "OK" button, Paint will automatically resize the screen.
To change the color of the text on the label, choose a colored box from the "Colors" area of the toolbar's color picker. The "Text" tool, which is represented by a "A" in the "Tools" section, should be selected. Select a font and text size for the label by clicking on it.
Fill up the blanks with the label information, such as your name and mailing address. Use different colors for each line of the label to create a rainbow effect, or stick with a single color for a more consistent appearance.
To fill with color, choose a new color from the "Colors" section and then click the "Fill with color" tool in the "Tools" section, which looks like a tipping paint can. To change the color of the label's backdrop, click on the white area of the label. Select "Save As" from the "File" menu, provide a name for the label, and then click "Save." The label will be saved to your computer.
Creating Avery 8160 Free Template By Using Publisher
Select "Publications for Print" under Publisher. Select "Labels" from the drop-down menu and navigate through the Avery 5160 preset selections (these labels have the same sizing as the 8160). To make a label appear in your workspace, double-click it.
Click the "Multiple" page under "Copies per sheet" in the left pane window. This implies you'll have to print 30 labels rather than just one. Over the predefined placeholder text, type your contact details.
On the "Label Options" tab, choose the "Font Schemes" option, then select a font family for the label. When you double-click a font scheme, the label will change immediately.
On the "Label Options" pane, click the "Color Schemes" option, then choose a color scheme. When you double-click a scheme, the label will change immediately.

Creating Avery 8160 Free Template By Using Photoshop
To begin, open Photoshop and choose "File," then "New." Set the width and height of the file to 2.63 inches and 1 inch, respectively. Change the "Contents" to "White" and the "Mode" to "CYMK Color." Then press the "OK" key.
Select "View" and "Fit on Screen" from the drop-down menus. This will not raise the size of your label; rather, it will provide you with additional creative space.
On the left side of the screen, click the "Text" tool, which looks like a "T" in the "Tools" palette. At the top of the screen, you'll see a new toolbar. Choose your font, color, and size, then put your label information within the "MyLabel" box.
(Optional) On the "Tools" palette, choose the "Paintbrush" tool, then select a color from the "Color Picker" and draw some colored accents on your label.
Creating Avery 8160 Free Template In Excel
Using the Foxy Labels Add-on in Google Sheets makes this much simpler. However, if you prefer Excel, follow these steps:
- Create a new Excel Sheet and put a header in the first cell of each column detailing the data to mail merge Avery 8160. Create a column for each thing you'd want to see on the labels.
- Type the names and addresses, as well as any other information you want to print on labels.
- Create a new Word document. Select Mailing -> Start Mail Merge ->Labels from the drop-down menu. Choose a template.
- In the dialog box, click Pick Recipients -> Use an Existing List, then select the newly generated file.
- To insert data from the Excel file, click Insert Merge Field.
- Before printing, don't forget to click on PreviewResults.
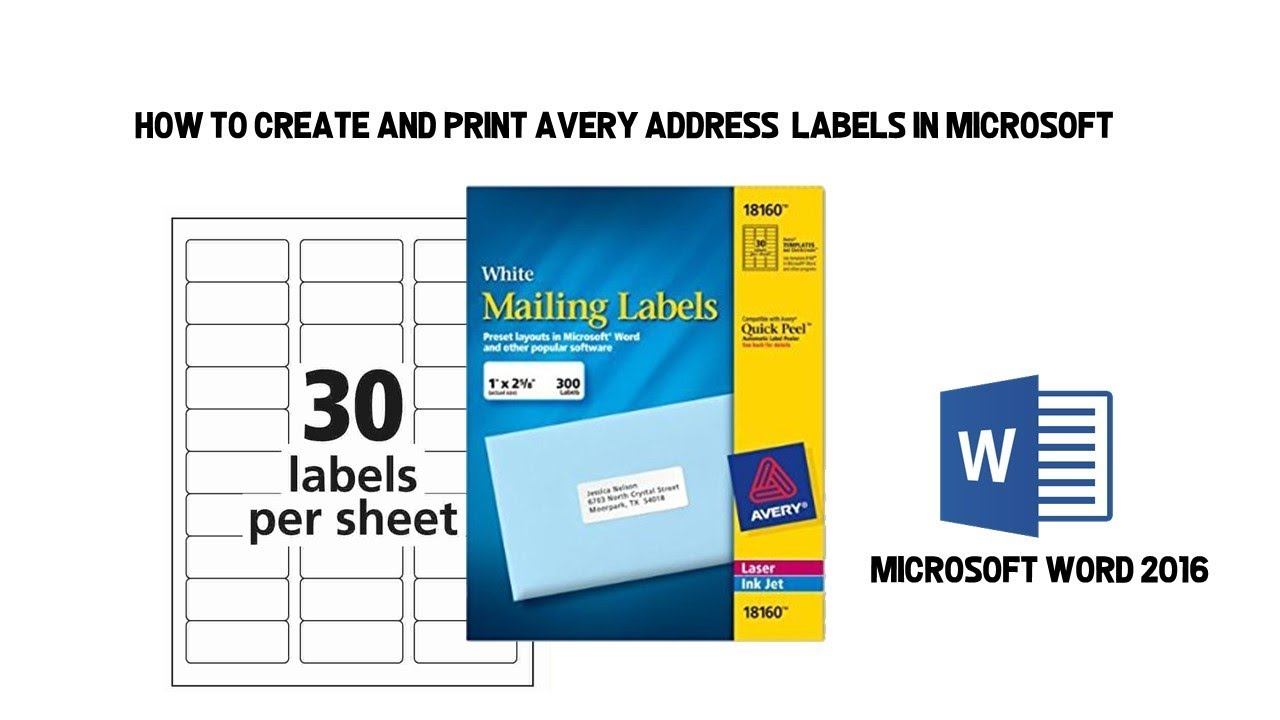
How to create and print Avery address labels in Microsoft Word
About The Authors

Steve MartinsI am a certified graphic designer and I earned my bachelor’s degree in Communication Design. I worked with many brands like Uniqlo and Huawei but also independent smaller Barcelonian brands like Caravelle and Madrid’s Hola Coffee and I have completed over 2000 projects in the last 5 years.